We’ve all been there:
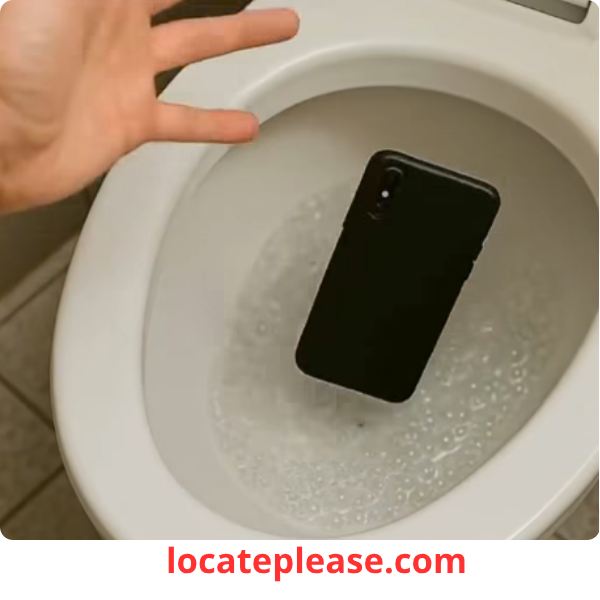
A slippery hand, a moment of distraction, and suddenly — splash — your phone is at the bottom of a sink, a puddle, or worse… the toilet.
Panic sets in.
But before you give up on your device, take a breath.
You still have a chance to save it.
While water and electronics don’t mix, quick action and the right tricks can dramatically increase your phone’s survival odds — even if it’s been submerged.
Here are 3 proven tricks to try immediately after your phone takes a dip — and what not to do.
🚨 Step 1: Act Fast — Time Is Critical
The longer your phone stays wet, the higher the risk of permanent damage from short circuits and corrosion.
Do this within seconds:
- Pull it out immediately
- Turn it off — don’t press any buttons or try to restart it
- Remove the case, SIM card, and SD card (if possible)
Now, choose one of these 3 recovery tricks.
💡 Trick #1: The Rice Myth — But With a Better Alternative
Yes, you’ve heard it before: “Put your phone in rice!”
But here’s the truth:
Regular rice is slow and not very effective. It may absorb some surface moisture, but it won’t reach the internal components quickly enough.
✅ Better alternative: Use Silica Gel Packets
Silica gel (those little “Do Not Eat” packets in shoeboxes or pill bottles) is far more absorbent than rice.
What to do:
- Place your phone in a sealed plastic bag or container.
- Surround it with silica gel packets (the more, the better).
- Leave it for at least 24–48 hours.
👉 No silica gel? Try instant oats or cat litter (non-clumping, silica-based) — both are better than rice.
💡 Trick #2: Use a Vacuum (Gentle Suction, Not Blowing)
While you should never use a hair dryer (heat damages electronics), a vacuum cleaner can help.
How it works:
Gentle suction can pull moisture out of ports and seams without forcing water deeper.
What to do:
- Turn off the vacuum’s heating function (if any).
- Hold the nozzle 1–2 inches from your phone — don’t touch it.
- Run the vacuum for 10–15 minutes, focusing on the charging port, speakers, and buttons.
✅ Bonus: Combine this with the silica gel method for best results.
💡 Trick #3: Isopropyl Alcohol Flush (For Advanced Users)**
This is a pro-level trick used by repair technicians — but it can save your phone if done carefully.
Why it works:
Isopropyl alcohol (90% or higher) evaporates quickly and displaces water without leaving residue. It also kills bacteria (especially important if your phone fell in the toilet!).
What you’ll need:
- 90%+ isopropyl alcohol
- A small container
- Soft brush (optional)
Steps:
- Submerge your phone quickly in the alcohol — it will displace the water.
- Gently shake or brush hard-to-reach areas (like ports).
- Remove and let it air dry for 24 hours in a well-ventilated area — no rice needed.
⚠️ Warning: Only do this if your phone is completely off and you can’t dry it fast enough. Avoid if the phone has open cracks or damaged seals.
❌ What NOT to Do
Avoid these common mistakes that can kill your phone faster:
- Don’t shake it — this spreads water inside.
- Don’t press buttons — risk of short-circuiting.
- Never use a hair dryer or oven — heat warps components.
- Don’t charge it while wet — this can fry the circuitry.
✅ Final Steps After Drying
After 24–48 hours:
- Reinsert the SIM card.
- Try turning it on.
- If it doesn’t power up, try charging for 10 minutes.
- If still nothing, take it to a professional repair shop — they have ultrasonic dryers and diagnostic tools.
Final Thoughts: Don’t Panic — Act Smart
Dropping your phone in water isn’t the end.
With fast action and the right method, you can still bring it back to life.
Remember:
- Turn it off immediately
- Dry it the right way — silica gel > rice
- Be patient — rushing can cause more harm
And next time?
Maybe keep it away from the edge of the sink…
Your phone took a dive — but with these tricks, it doesn’t have to stay down.


