Say goodbye to harsh chemicals and expensive store-bought sprays—this simple, all-natural oven cleaner uses just three kitchen staples: lemon, vinegar, and dish soap. Not only does it cut through grease and grime like magic, but it leaves your oven smelling fresh and citrusy instead of like a chemistry lab.
After years of dreading deep-cleaning my oven, I finally found a solution that actually works—and doesn’t make me reach for gloves and a mask. This homemade spray is powerful enough to tackle baked-on spills and old grease, yet gentle enough to use regularly without worrying about fumes or residue.
✨ Why This Works Better Than Store-Bought Cleaners
Most commercial oven cleaners are loaded with caustic chemicals that can be tough on surfaces, your lungs, and the environment. This DIY alternative harnesses the natural cleaning power of:
- White vinegar: A natural degreaser that dissolves grime and neutralizes odors.
- Lemon juice: Packed with citric acid to break down buildup and leave a bright, fresh scent.
- Dish soap: Lifts grease and helps the solution cling to vertical surfaces like oven walls and glass doors.
Together, they create a foaming, fizzing action that softens stuck-on messes so you can wipe them away—no scrubbing marathon required.
📝 What You’ll Need
- 1 cup white vinegar
- ½ cup fresh lemon juice (about 2–3 lemons)
- 1 tbsp liquid dish soap (use a gentle formula like Dawn or Seventh Generation)
- A spray bottle (glass or plastic)
- A damp microfiber cloth or sponge
💡 Optional boost: Add 1 tsp baking soda for extra scrubbing power on tough stains (add last to avoid overflow).
👩🍳 How to Use It – 4 Easy Steps
1️⃣ Mix the Solution
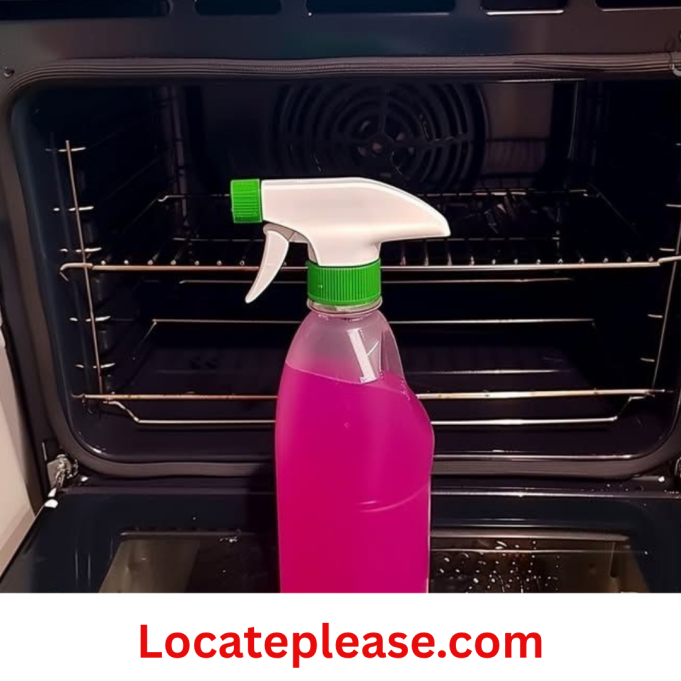
In a spray bottle, combine the vinegar, lemon juice, and dish soap. Secure the lid and gently shake to mix—don’t shake too hard or it will foam up!
2️⃣ Spray Generously
Open your oven and spray the solution liberally on the interior surfaces, including the door, sides, and bottom. Focus on areas with heavy buildup. The mixture will start to bubble slightly as it begins breaking down grease.
3️⃣ Let It Sit
Allow the cleaner to sit for 15–30 minutes. For light messes, 15 minutes is plenty. For stubborn, caked-on spills, let it work longer—up to an hour.
4️⃣ Wipe & Shine
Using a damp microfiber cloth or sponge, wipe down the entire oven. Watch how grime lifts away with minimal effort. For extra-tough spots, re-spray and let sit a few more minutes before wiping again.
✨ Bonus: Your oven won’t just look clean—it’ll smell like a fresh kitchen garden.
🔁 Pro Tips for Best Results
- Use after cooling: Never spray a hot oven. Let it cool completely first.
- Ventilate the area: Open a window or turn on the fan while cleaning.
- Clean monthly: A quick spray-and-wipe every few weeks keeps messes from building up.
- For the racks: Remove and soak in warm water + baking soda, then scrub with a toothbrush.
- Avoid self-cleaning mode: This natural method is safer and less damaging to your oven over time.
🌿 Why I’ll Never Go Back to Chemical Cleaners
Not only is this cleaner effective, but it’s also:
- Non-toxic – Safe around kids and pets
- Budget-friendly – Costs pennies per use
- Eco-conscious – No plastic waste or harmful runoff
- Pleasant to use – Smells like lemonade, not lye
One home cook said, “I used this while my toddler napped nearby—no worries about fumes. And when he woke up, he said, ‘Mama, the kitchen smells happy!’”
This isn’t just a cleaner—it’s a game-changer. With one quick spray, a little patience, and a soft wipe, your oven can go from grimy to gleaming… and actually enjoy the process.
So next time you’re staring at splattered sauce or last week’s pizza disaster, don’t reach for the chemical spray. Grab a lemon, some vinegar, and a bottle—you might just find yourself saying:
“My oven hasn’t sparkled like this in years!” 🍋🤩


